Creating an accessible bathroom design isn’t just about compliance—it’s about crafting a space that welcomes everyone, from young children to aging adults, and individuals with varying physical abilities. Whether you’re planning a complete remodel or updating your existing small bathroom, understanding universal design principles can transform your space into one that’s both beautiful and functional for life’s changing needs.
This comprehensive guide will walk you through the essential elements of accessible bathroom design, from layout considerations to specific fixture requirements. You’ll discover practical solutions that don’t sacrifice style, learn about the latest innovations in accessible features, and understand how to maximize functionality even in the smallest spaces.
Understanding Universal Accessible Bathroom Design Principles
Universal design goes beyond basic accessibility requirements to create spaces that work intuitively for everyone. In bathroom spaces, this means considering sight lines, reach ranges, mobility aids, and varying physical capabilities from the initial design phase rather than as an afterthought.
The core principle of accessible bathroom design centers on creating clear pathways, comfortable access to all fixtures, and intuitive operation of controls and features. According to National Association of Home Builders, incorporating these principles during initial construction or major remodeling is significantly more cost-effective than retrofitting later.
Key measurements form the foundation of any accessible space: doorways should be at least 32 inches wide, with 36 inches preferred; turning space should accommodate a 60-inch diameter circle for wheelchair users; and approach spaces to fixtures must allow for both frontal and side access depending on the user’s needs.
Essential Layout Considerations for Small Accessible Spaces
Small bathrooms present unique challenges when implementing accessible bathroom design, but thoughtful planning can maximize both functionality and comfort. The key lies in strategic fixture placement and creating flexible spaces that accommodate various mobility aids.
Start with your door placement and swing direction. Outward-swinging doors create more usable interior space and prevent someone from being trapped inside if they fall. If structural constraints require an inward swing, consider pocket doors or bi-fold options that don’t impede movement within the space.
The traditional three-fixture triangle layout often doesn’t work well for accessibility. Instead, consider linear arrangements that create clear sight lines and logical movement patterns. Position the toilet with adequate side transfer space—at least 18 inches on one side, preferably both sides when possible.
Accessible Bathroom Design: Flooring and Safety Features
Flooring choices significantly impact both safety and accessibility in bathroom environments. Non-slip surfaces are essential, but texture and material selection must balance traction with easy maintenance and comfort underfoot.
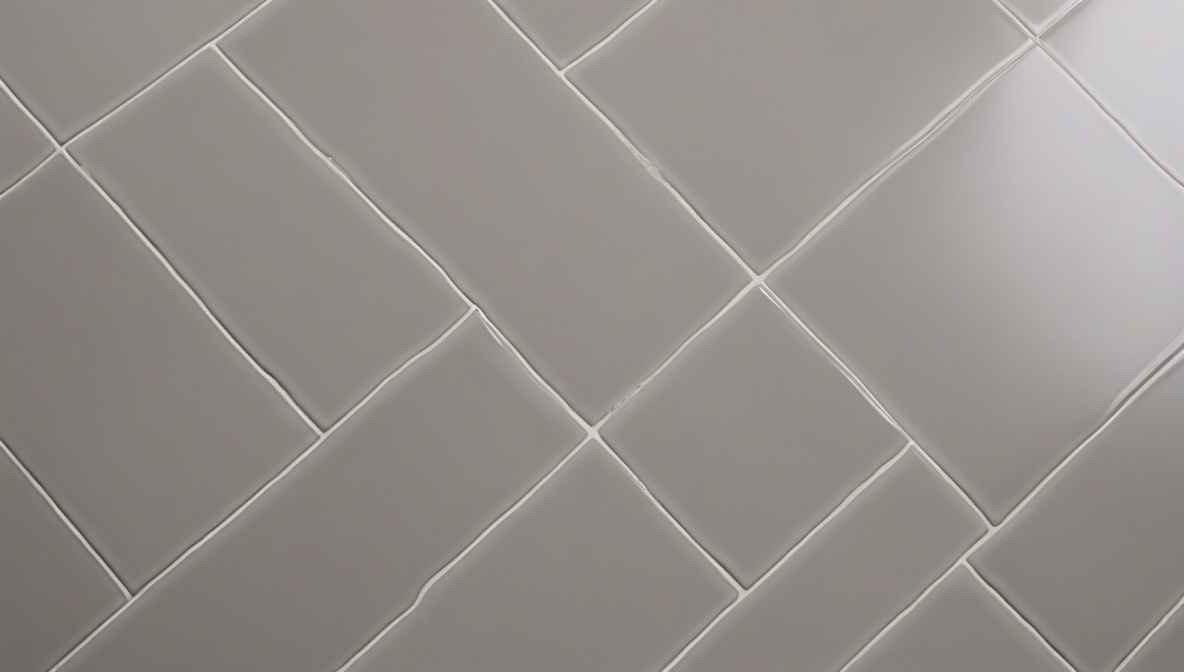
Large-format tiles with minimal grout lines reduce tripping hazards while providing easier wheelchair navigation. Avoid high-gloss finishes that become slippery when wet, instead opting for matte or textured surfaces with a slip resistance rating of 0.6 or higher.
Transition strips between flooring materials should be minimal—preferably no more than 1/4 inch in height—and beveled to prevent catching wheelchair wheels or walker legs. Consider heated flooring systems for added comfort, especially beneficial for users who may spend more time in the space due to mobility considerations.
Fixture Selection and Placement for Maximum Accessibility
Choosing the right fixtures forms the heart of successful accessible bathroom design. Each element must serve multiple users with varying needs while maintaining aesthetic appeal and functionality.
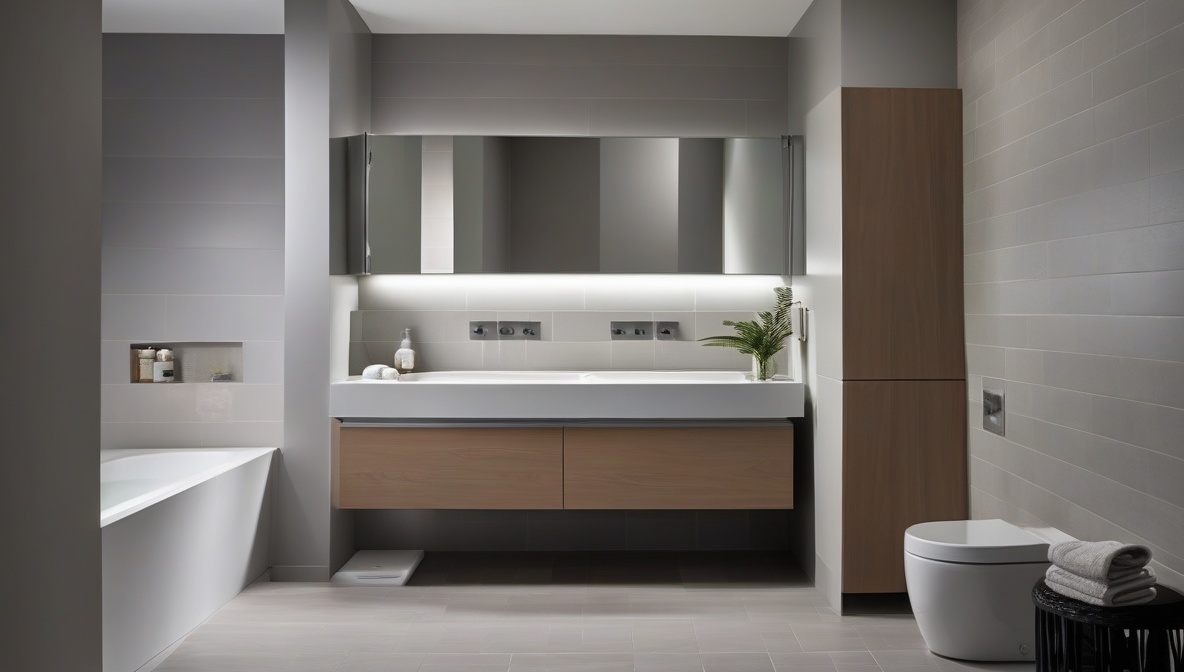
Toilet height significantly impacts usability. Comfort-height toilets, typically 17-19 inches from floor to seat, reduce strain for most users. Wall-mounted units offer flexibility in height adjustment and easier floor cleaning, while providing space underneath for wheelchair footrests or assistive devices.
Sink selection should prioritize knee clearance underneath—at least 27 inches high, 30 inches wide, and 11-25 inches deep. Undermount sinks in solid surface countertops eliminate sharp edges and create smoother transitions. Consider adjustable-height options or multiple sink heights when space allows.
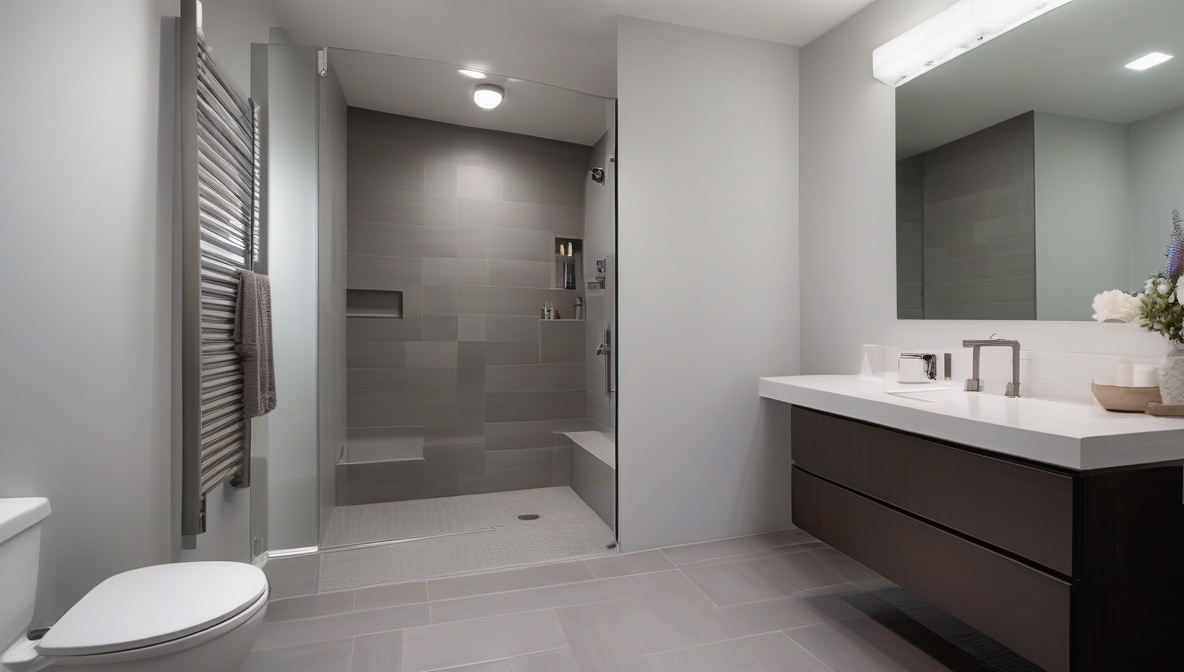
Shower and Bathing Solutions in Accessible Bathroom Design
Modern accessible bathing solutions offer numerous options that combine safety, comfort, and style. Curbless showers provide the ultimate in accessibility, allowing easy entry for wheelchairs, walkers, and individuals with limited mobility.
Walk-in tubs serve users who prefer bathing over showering but need assistance entering and exiting traditional tubs. These units feature low-threshold doors, built-in seating, and safety features like grab bars and non-slip surfaces.
For shower installations, consider linear drains along the entry wall rather than center drains, which create more complex slope patterns. This approach simplifies waterproofing and allows for larger format tiles that enhance the visual appeal while maintaining function.
According to EPA WaterSense, selecting efficient showerheads and faucets doesn’t compromise accessibility features while reducing water consumption by up to 20% compared to standard fixtures.
Grab Bar Placement and Support Systems
Proper grab bar installation requires both strategic placement and structural support. These safety features should integrate seamlessly with your design aesthetic while providing reliable support where users need it most.
Horizontal grab bars work best for stability and balance, while vertical bars assist with standing and sitting motions. Install horizontal bars 33-36 inches from the floor, ensuring they extend beyond fixture edges for optimal leverage and support.
In shower areas, place grab bars on the control wall and back wall, avoiding placement on plumbing walls where possible to prevent conflicts with supply lines. L-shaped corner bars provide dual functionality in compact spaces, offering both horizontal and vertical support options.
Lighting and Electrical Considerations for Accessible Bathroom Design
Effective lighting serves both safety and functionality purposes in accessible spaces. Layer your lighting approach with ambient, task, and accent fixtures to eliminate shadows and provide consistent illumination throughout the space.
Motion-activated lighting provides hands-free operation and ensures users never enter a dark space. Install sensors that detect movement at various heights to accommodate different user positions, from standing to seated in wheelchairs.
Electrical outlets and switches should be positioned within universal reach ranges—15-48 inches from the floor. GFCI protection is essential for all bathroom electrical components, and consider USB outlets near vanity areas for charging assistive devices or personal electronics.
Storage Solutions That Support Independence
Accessible storage design focuses on bringing frequently used items within easy reach while maintaining organization and aesthetic appeal. The universal reach range of 15-48 inches from the floor should guide your storage planning.
Pull-out drawers work better than traditional cabinets with doors, allowing users to access contents without reaching over or around obstacles. Soft-close mechanisms reduce effort required for operation while preventing slamming that could startle or destabilize users.
Wall-mounted storage keeps floor areas clear for mobility aids while providing convenient access to towels, toiletries, and other necessities. Consider adjustable shelving systems that can adapt to changing needs over time.
Technology Integration and Smart Features
Modern accessible bathroom design increasingly incorporates smart technology that enhances independence and convenience. Voice-controlled systems allow hands-free operation of lighting, ventilation, and even water temperature controls.
Smart mirrors with integrated lighting, defogging capabilities, and digital displays can show time, weather, or medication reminders. These features particularly benefit users with vision challenges or cognitive considerations.
Automated faucets and soap dispensers reduce the need for fine motor control while promoting hygiene. Look for models with adjustable sensors and manual override options to accommodate various user needs and preferences.
Cost-Effective Accessible Bathroom Design Strategies
Creating accessible spaces doesn’t require unlimited budgets when you prioritize key features and plan strategically. Focus your investment on structural elements that are difficult to change later—proper door widths, reinforced walls for grab bars, and appropriate floor slopes.
Phased improvements allow you to spread costs over time while immediately addressing the most critical accessibility needs. Start with safety features like grab bars and non-slip flooring, then progress to fixture updates and technology integration as budget allows.
Many accessible features offer long-term cost savings through reduced maintenance, improved efficiency, and decreased need for future modifications. Energy.gov provides resources on energy-efficient fixtures that can reduce utility costs while supporting accessibility goals.
Working with Professionals and Code Compliance
While many accessible bathroom design elements can be DIY projects, certain aspects require professional expertise. Structural modifications, plumbing relocations, and electrical work should always involve licensed professionals familiar with accessibility codes and local requirements.
The Americans with Disabilities Act (ADA) provides guidelines for commercial spaces, while residential accessibility often follows different standards. Your local building department can clarify which codes apply to your project and any permit requirements for your planned modifications.
Certified Aging-in-Place Specialists (CAPS) bring specific expertise in residential accessibility modifications. These professionals understand both the technical requirements and the human factors that make spaces truly functional for users with varying abilities.
Maintenance and Long-term Care
Accessible bathroom design should consider long-term maintenance needs and the physical demands of keeping the space clean and functional. Select materials and finishes that resist moisture, mold, and wear while remaining easy to clean.
Caulk-free installations using solid surface materials reduce maintenance while eliminating areas where bacteria and mold can accumulate. Choose fixtures with removable components that allow thorough cleaning without requiring excessive reaching or bending.
Regular maintenance schedules become particularly important in accessible spaces where equipment failure could impact user safety and independence. Establish relationships with service providers who understand accessibility features and can respond quickly when issues arise.
References
- National Association of Home Builders – Universal Design and Accessibility Guidelines
- EPA WaterSense – Water-Efficient Bathroom Fixtures
- Energy.gov – Energy-Efficient Home Improvements
Frequently Asked Questions
What is the minimum door width required for accessible bathroom design?
The minimum door width for accessible bathrooms is 32 inches of clear opening width, though 36 inches is preferred. This measurement accounts for the actual passable space, not the door size itself. Consider the door thickness and hardware when calculating the required rough opening.
How much space do I need for wheelchair accessibility in a small bathroom?
A wheelchair-accessible bathroom requires a minimum turning space of 60 inches in diameter, or a T-shaped turning space measuring 60 inches square with arms and base 36 inches wide. In very small bathrooms, this turning space can overlap with clear floor space at fixtures.
Can I make my existing small bathroom accessible without a complete renovation?
Yes, many accessibility improvements can be made without full renovation. Key modifications include installing grab bars (requires wall reinforcement), replacing door hardware with lever handles, adding a handheld shower head, installing a comfort-height toilet, and improving lighting. However, major layout changes require more extensive work.
What’s the difference between ADA compliance and universal design for bathrooms?
ADA compliance refers to specific legal requirements primarily for commercial and public spaces, with detailed measurements and specifications. Universal design is a broader philosophy creating spaces usable by people of all ages and abilities, often exceeding minimum ADA requirements and focusing on residential comfort and aesthetics.
Are accessible bathroom fixtures more expensive than standard options?
Accessible fixtures typically cost 10-30% more than standard options initially, but they often provide better value through durability, reduced maintenance needs, and avoiding future modification costs. Many accessible features, like comfort-height toilets and lever handles, are becoming standard in mid-range and higher-end fixtures.
How do I reinforce walls for grab bars in an existing bathroom?
Grab bars require blocking or reinforcement capable of supporting 250 pounds of force in any direction. In existing bathrooms, this often means opening walls to install 2×8 or 2×10 blocking between studs, or using specialized mounting systems designed for hollow walls. Always consult a professional for structural modifications.
What flooring materials work best for accessible bathroom design?
The best accessible bathroom flooring includes large-format porcelain tiles with slip-resistant surfaces, luxury vinyl plank with textured surfaces, and natural stone with honed finishes. Avoid small mosaic tiles (too many grout lines), high-gloss surfaces, and materials that become slippery when wet. Ensure transitions between different flooring materials don’t exceed 1/4 inch in height.